Great news for all aerial surveying companies out there. From this release on, 3DMC support Oblique images. By default.
And fused with any other resource in one go.
In previous releases, we’ve added support for Mobile Mapping and UAS Mapping resources. Now Aerial Oblique Images are supported as well, along with DSM and/or point cloud (dense matched or LiDAR doesn’t matter).
Here’s how it works. You prepare an Oblique Mapping project using Orbit’s Oblique desktop tool. This tool allows to perform the proper checks and connect to 3DMC to upload your oblique project. Once it’s online, you simply select it from your Catalog to view it. Note : Switch your viewing settings to the multi-window Oblique setting in order to view 4 oblique images and your 3D reference at once.

Note that, in the Measure sidebar, additional measurement functions have been added especially for Oblique imagery. For example, you can now easily measure the circumference of a rooftop, starting from the ground (a DEM must be part of the Oblique project that has been uploaded). All with single clicks, and during measurement you can switch from one view to the other to get the best view on the point you need to extract. Wow, that’s a mouthful.
We’ve added a pretty nice example Oblique dataset as sample data :

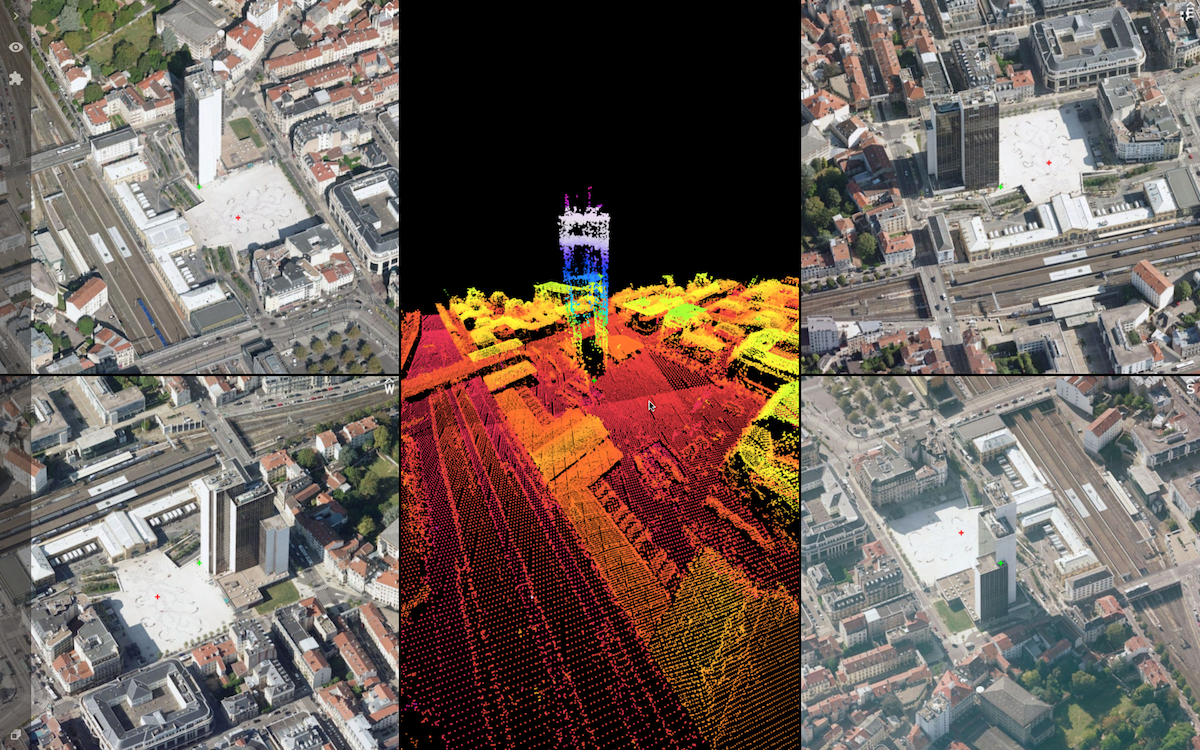
Switch to Oblique view and here you go :

Here’s some introduction on the user feedback :
- The center of each image, as well as from the central 2D/3D view, is market with a tiny green plus-sign. It is located at ‘ground’ level according to the associated DEM.
- The location of your cursor hovering over one of the 5 windows, is reflected in all 4 other windows by a tiny red plus-sign.
- When hovering over one of the oblique images, 2 footprints are shown on the central 2D/3D map : the footprint of the total image (thin line), and the footprint of the portion that is visualised (thick line)
- When zooming in either of the 4 oblique images, all other zoom along
- When panning in either of the 4 oblique images, all other pan along, keeping the same central point.
- When panning past the oblique image boundary, the next image is automatically selected and visualised.
- The top right corner of each oblique image window, shows which cardinal direction is up.
Enjoy !